Getting Started
Everything you need to set up your Usertopia account, create your first project, and start self-healing QA.
Welcome to Usertopia
Usertopia is the world's first self-healing QA and automation platform. It closes the loop between observation, testing, and remediation, so your team can ship faster and with fewer bugs.
1. Observe
The Chrome Extension records user sessions and automatically generates test suites, Playwright scripts, and API tests.
2. Test
An autonomous fleet uses AI Vision to browse your site, detect visual and functional bugs, and file detailed tickets.
3. Heal
An isolated coding agent clones your repo, generates code fixes, runs tests, and submits pull requests automatically.
Creating Your Account
Getting started takes less than a minute. Follow these steps to create your Usertopia account.
-
1
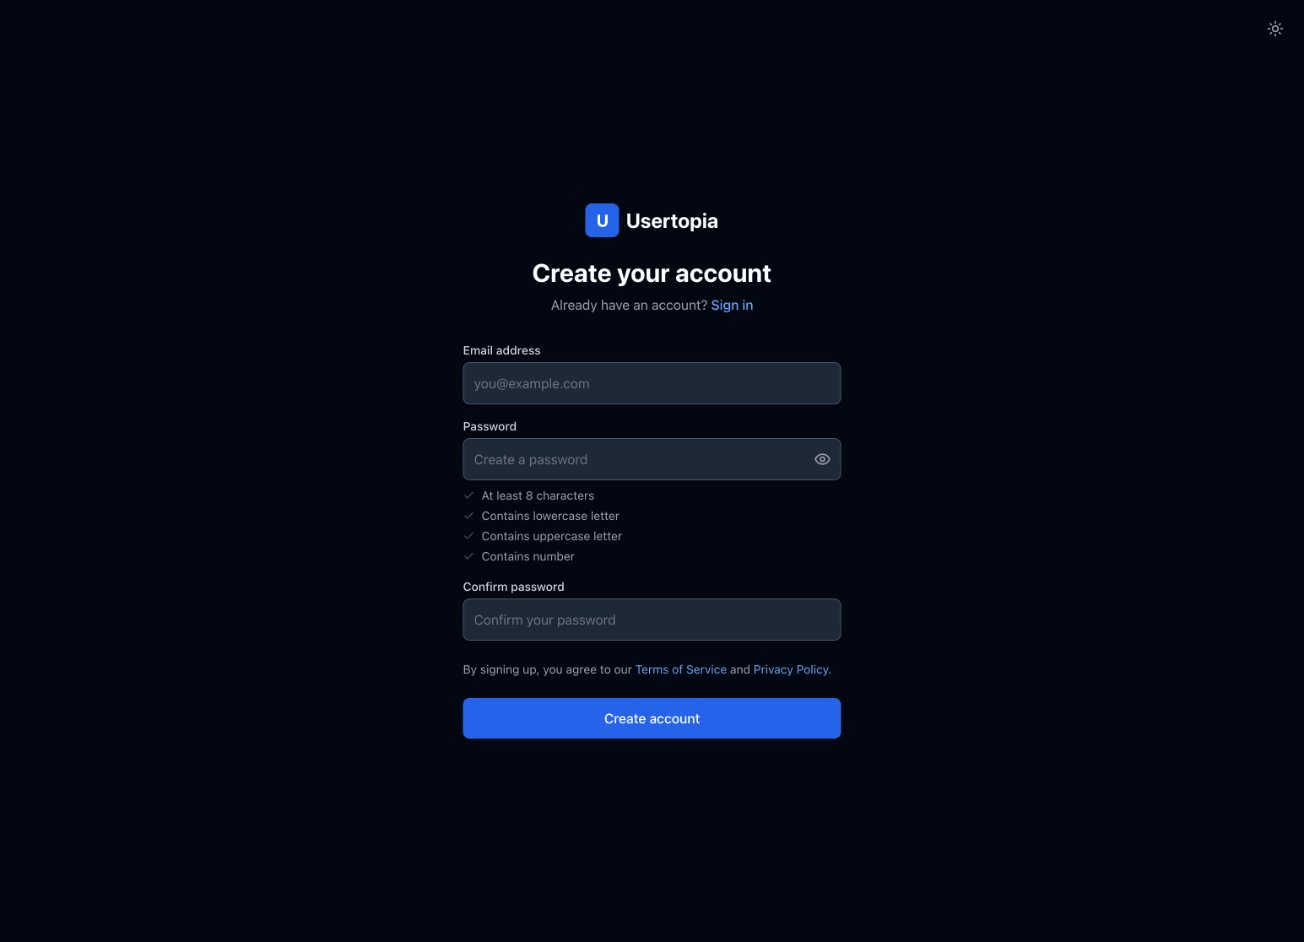
Go to the Sign Up page
Navigate to usertopia.com/signup or click the Sign Up Free button in the top-right corner of any page.
-
2
Enter your details
Fill in your full name, email address, and a strong password. Passwords must be at least 8 characters and include a mix of uppercase, lowercase, and numbers.
-
3
Verify your email
Check your inbox for a verification code from Usertopia. Enter the code on the confirmation screen to activate your account.
Free trial included
Every new account comes with a 14-day free trial. No credit card required. You can upgrade to a paid plan at any time from your account settings.
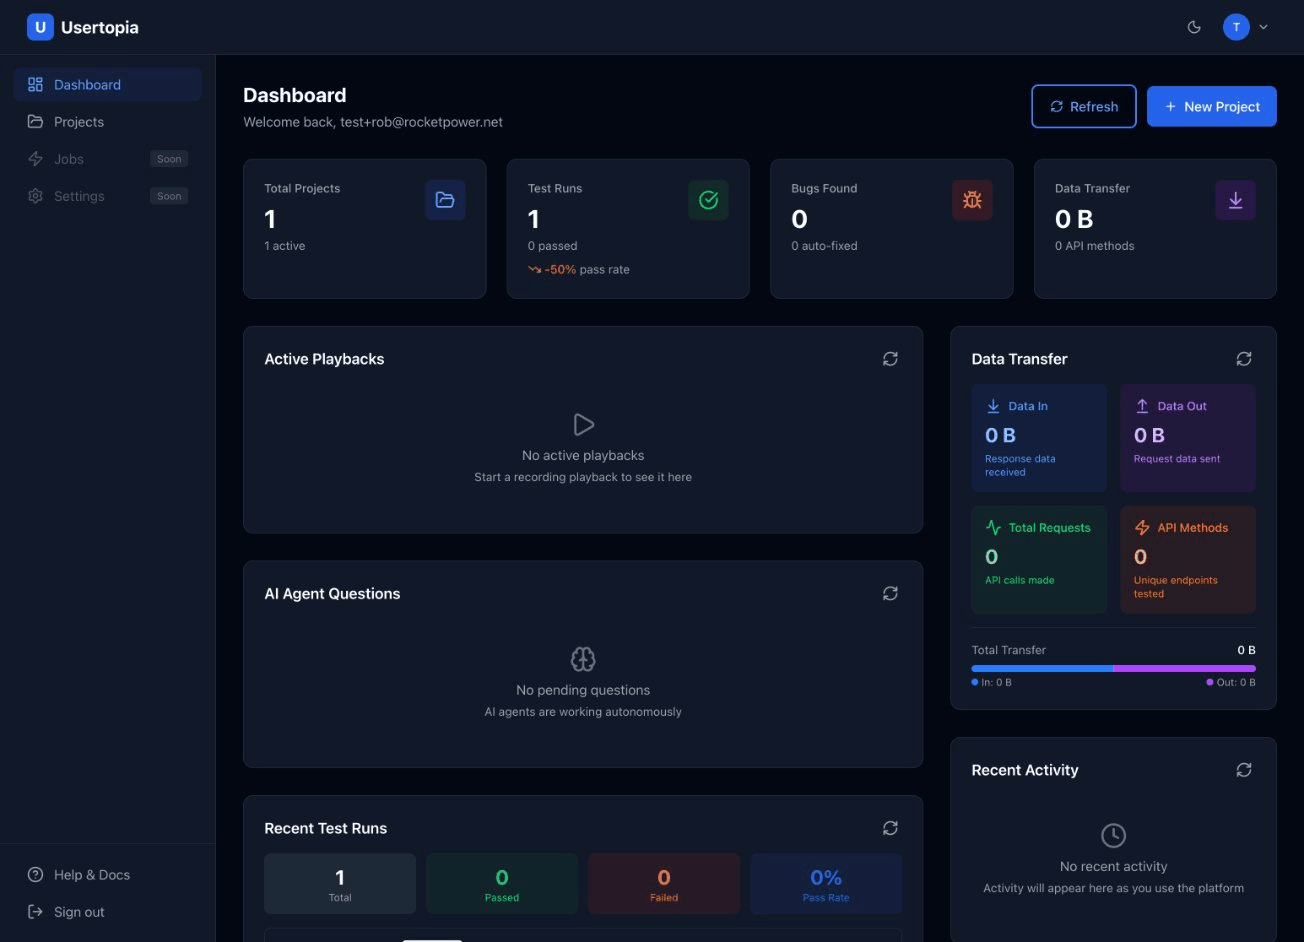
Your Dashboard
After logging in, you land on the Dashboard. This is your central hub for monitoring projects, test results, and platform activity at a glance.
Quick Stats
See your total projects, total test runs, overall pass rate, and the number of active recordings across all projects.
Recent Test Runs
View the latest test execution results with color-coded status badges (passed, failed, running). Click any run to see full details.
Recent Activity
A timeline of recent platform events, including new recordings uploaded, tests completed, and bugs discovered.
Onboarding Questions
Smart prompts that ask about your project to generate initial test stories automatically. Answer a few questions about your app's key workflows and Usertopia will create starter user stories for you.
Creating Your First Project
Projects are how Usertopia organizes your test suites, recordings, and bug reports. Each project typically maps to one application or website.
-
1
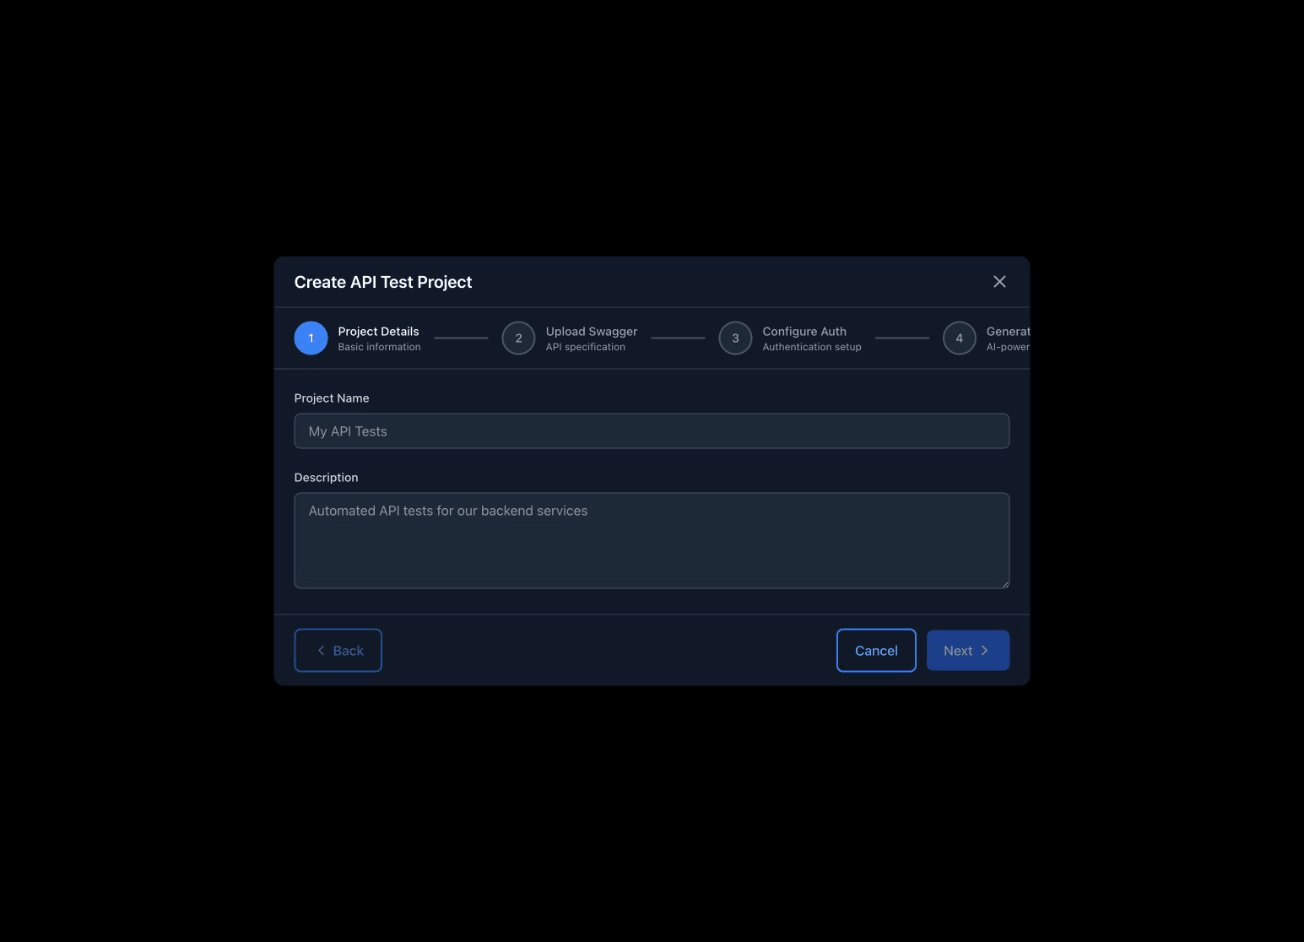
Open the New Project form
Click the New Project button on your Dashboard or from the Projects page. This opens the project creation form.
-
2
Enter project details
Fill in the required fields:
- Project Name — A descriptive name for your project (e.g., "My E-commerce App")
- Description (optional) — A brief summary of what the project is about
-
Base URL — The URL of your application (e.g.,
https://myapp.com) - Repository URL (optional) — Link to your Git repo for auto-fix PRs
-
3
Choose a project type
Select the type that best matches your application:
Web App API Mobile -
4
Create the project
Click Create Project and you will be taken to your new project's dashboard, where you can start adding user stories, importing specs, or recording sessions.
What's Next?
Now that your account and first project are set up, here are the best ways to start getting value from Usertopia right away.
Import a Swagger Spec
Upload an OpenAPI/Swagger file to auto-generate API test stories and tasks for your project.
Record Your First Session
Install the Chrome Extension and record a user session to automatically generate test suites.
Create User Stories
Write user stories manually or let AI generate them from your project description and onboarding answers.
Run Your First Test
Execute a test run against your application and see results with screenshots, logs, and pass/fail details.